Wednesday, December 19, 2018
Saturday, December 20, 2014
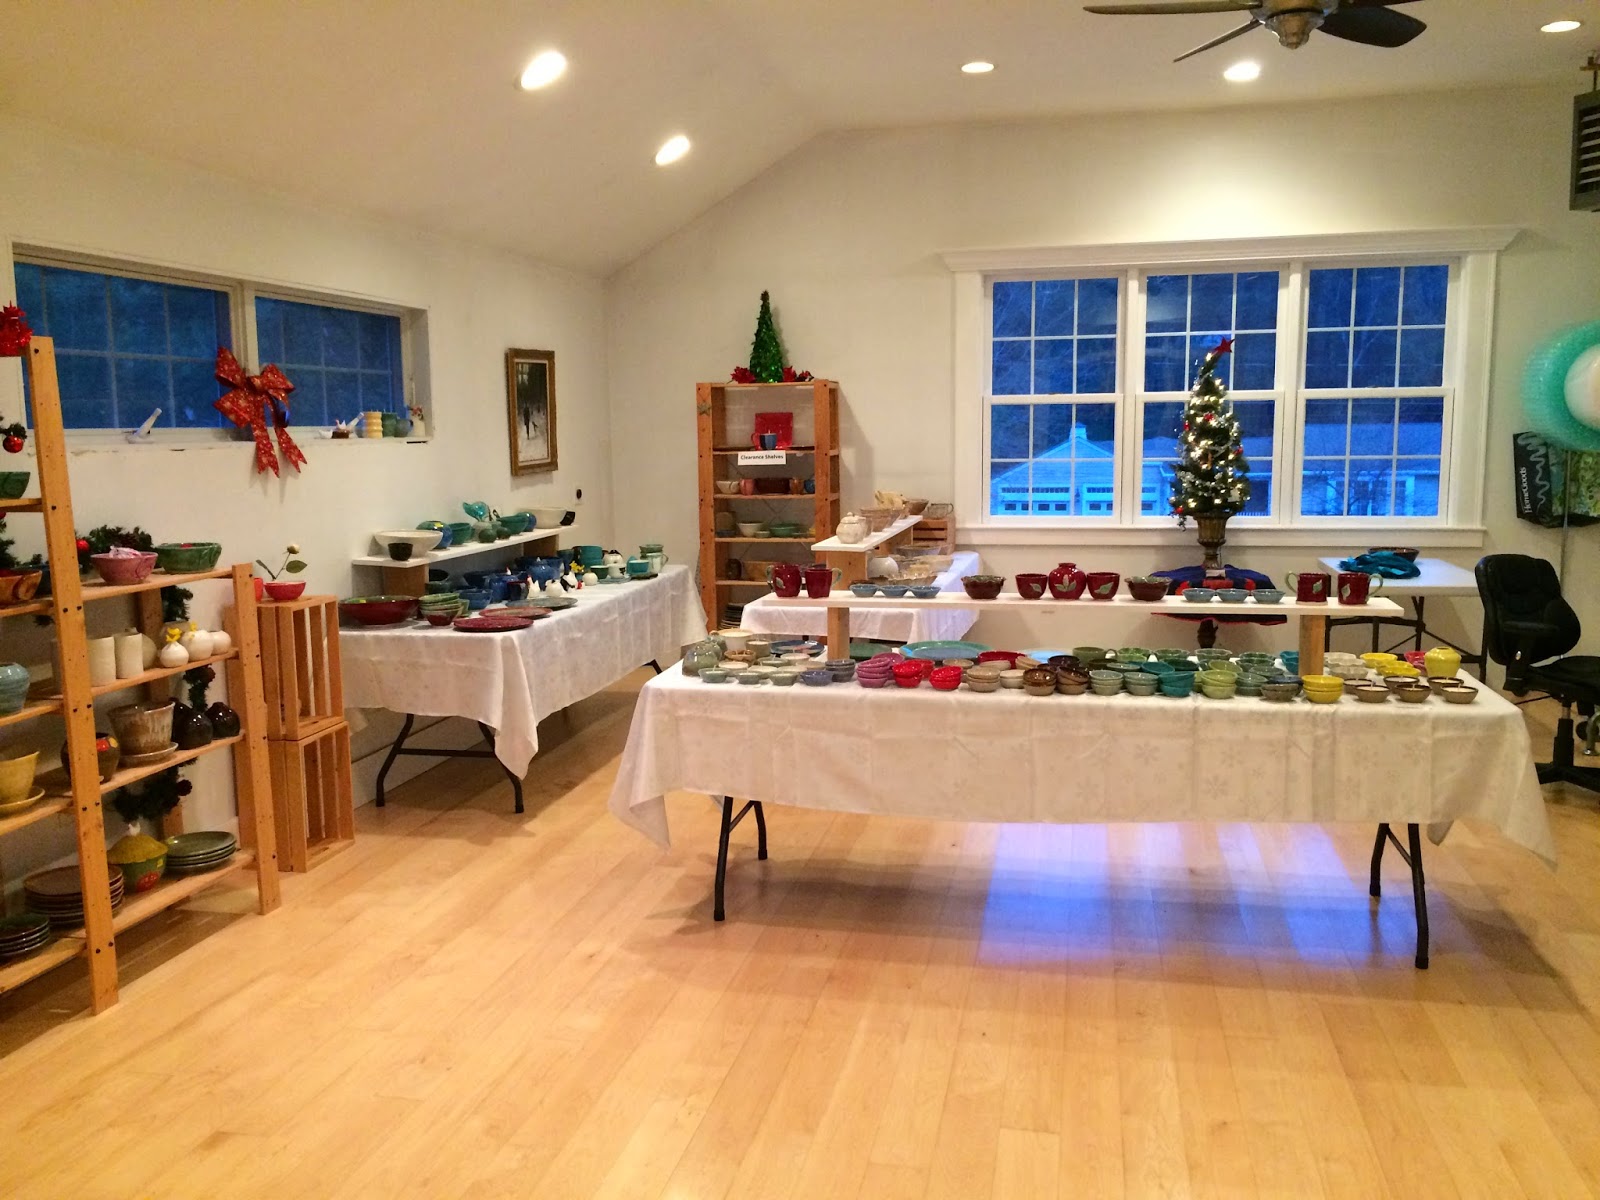
Holiday Open Studio
Wrapping up 2014
Looking back at this year in the studio, I am content with the body of work I have created and delighted with my students progress. My Holiday open studio was a huge success, a big giant thank you to Leah Okimoto and Marge Bindman for managing the checkout counter and Baylah Corbitt for her help pricing and setting up. Here are some pictures from that day. Looking ahead to 2015, I will be focusing on creating new dinnerware designs and designing a new website that will focus on my handcrafted pottery.


Friday, March 21, 2014
Making Plates Part 2
Making Plates Part 2
After these custom plates were bisque fired, I glazed them with three coats of textured green glaze and added red glaze around the rims.

Here is my beloved kiln, it lives in my basement, where it sits on a cement floor and is cornered by cement walls.

I then placed each dish on a plate stacker inside my kiln. These are like small pizza stones that allow multiple plates to be fired on top of each other using little bricks to support each layer. Using this method is a huge space saver in the kiln. The photo below shows the plates stacked before the firing. The kiln will fire to cone 6 and reach a temperature of about 2220 degrees fahrenheit. The glaze firing takes about 12 hours but will need to cool for another 24 hours until I can open and unload the wares.

Here is the "after" picture when the kiln has cooled with some other pieces inside the kiln.


And here are the finished dinner plates, they have been shipped to my lovely client Sharie on Lanai Island in HI.

The plates have arrived in their beautiful new home, here is what their new owner has to say. "We had company and all agreed they were beautiful. They are now stacked in the cupboard. I love the wonderful red rims and their original shapes. Thank you for the custom design. I will love them forever. And the bowls are just right. Much Aloha, Sharie"


This was such a gratifying experience. It makes me so happy to know my work is being enjoyed around the world.
Saturday, February 22, 2014
Making Plates
This week I've been working on some experimental plates for a custom order request. The challenge I have is to create a large enough finished plate of (12") that doesn't warp and fires nicely. This doesn't sound like a big deal but with the shrinkage of the clay both by the drying and firing process, I will need to throw a plate about 13.5 " or so. The wheel head on my pottery wheel is 13" so the plate would extend over my wheel.
The first few attempts looked good but the size was just too small. These will finish at about 10.5".


I decided to try using a hump mold, my husband made me several this past year, each one was hand cast in plaster. The mold attaches to the wheel head and the plate is thrown on top of the mold, essentially the plate is being formed upside down. Once thrown, the mold is removed from the wheel head and dries over night.

After a few hours of drying, I stamp the bottoms with my custom made pottery stamp featuring my kitty Parker.


Here's a picture of my sweet boy. He's much more handsome than this photo shows but is a little camera shy.

After the plates have dried over night, I pop them off the molds and put them back on the wheel for further trimming and smoothing.


Here is one of the larger plates coordinating with a smaller dinner plate.

After these dry completely they will be staged for my next bisque fire. I will report back on the progress.
Monday, January 13, 2014
Preparing for Winter Art Lessons


The wire used is soft and very easy to manipulate, but cut ends should be wrapped w/duck tape for safely.

For the first example I used a very simple contour drawing.

Then I shape the wire in the form of the contour drawing adding shape and dimension.

Next, the sculpture is covered with tissue paper or other decorative papers.


This finished piece is simple and cute.

This example is a little more complex but the same process.


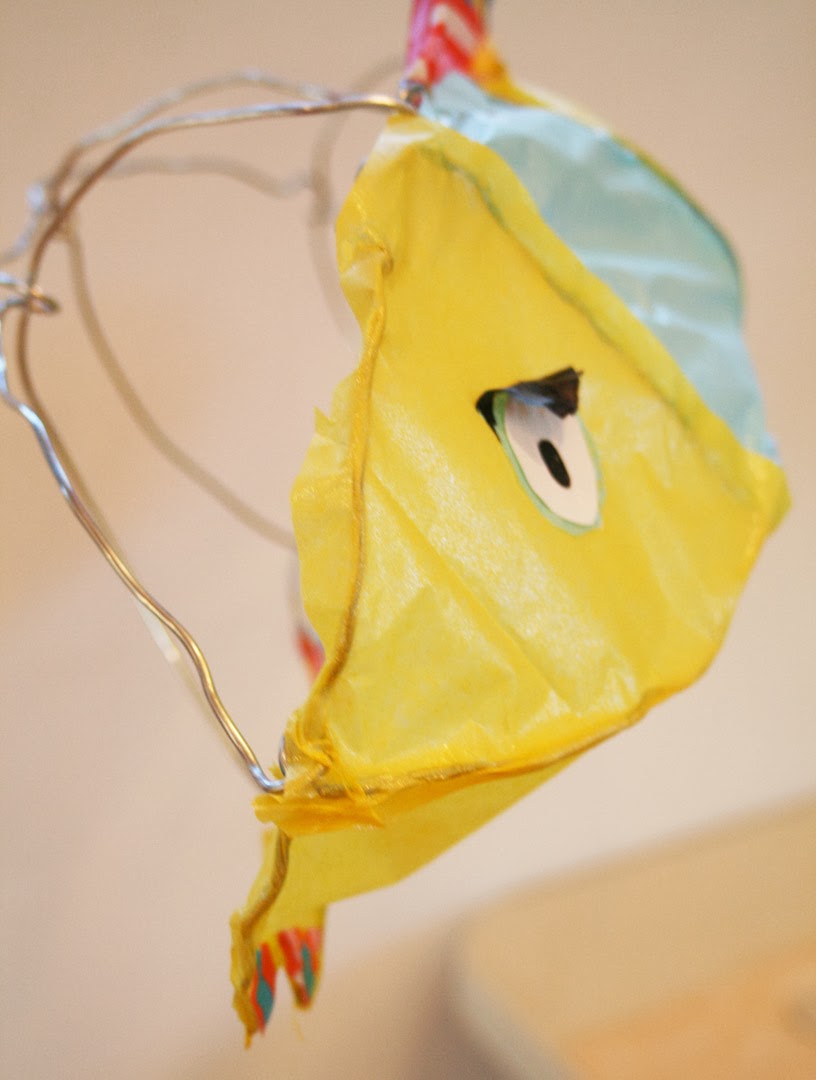
The final pieces may be displayed by hanging from a ceiling or be designed to sit on a table.

Here's Nikki and Erin working on their projects.


This turtle was made my Emily grade 7.

Rachel grade 6.

Whitney grade 6.

Maeve grade 7.
Friday, January 10, 2014
A Snowy Morning Working in My Studio


I have a little friend, she is a white squirrel that lives in our neighborhood and frequently graces our garden. I always get a thrill when I see her as I think of her as a magical little fairy (compared to the common grey varieties).
This morning as I was working at my pottery wheel trimming bowls, I saw my little friend sitting in the gutter above our chicken coop. She looked so sweet as the snow gently fell around her.

I quickly grabbed my camera and here's what followed.

Her arch enemy chased her...

But not for long!

Clearly, she is Queen of the mountain/chicken coop.
Subscribe to:
Posts (Atom)